
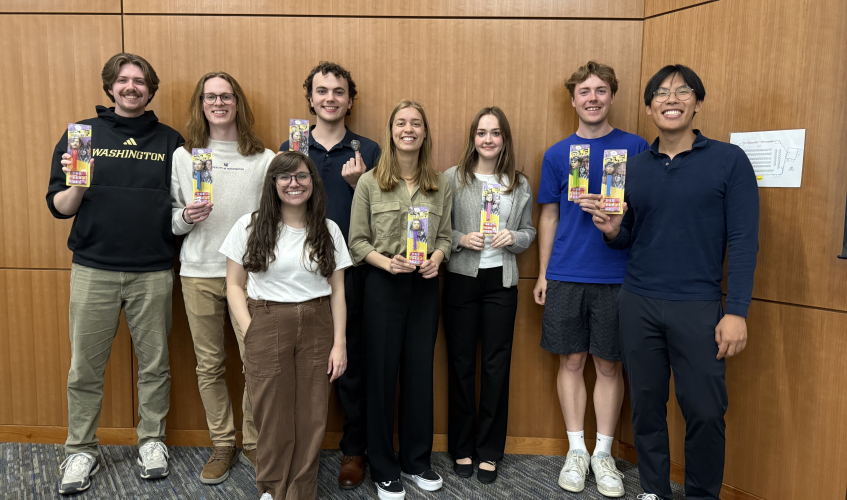
From left: Nick Porter, Adam Nixon, Trevor Gaffney, Sofia Dahlgren, Alyssa Hicks, Aidan Kuhn, Dawson Chan, stand with their PEZ dispensers with Dr. Alex Prybutok (center, front).
Nick Porter (B.S. ‘26) found a surprising way of applying the skills he gained in the ChemE research lab to create a thank you gift for faculty member Dr. Alex Prybutok. Working alongside facilities manager Benjamin Hornburg, Porter used his skills in 3-D printing and Computer Aided Design to create seven custom PEZ dispensers resembling himself and his classmates. Along with his peers, Porter presented the dispensers to Prybutok at the end of the academic year.
From ChemE peer fellows to custom toy makers
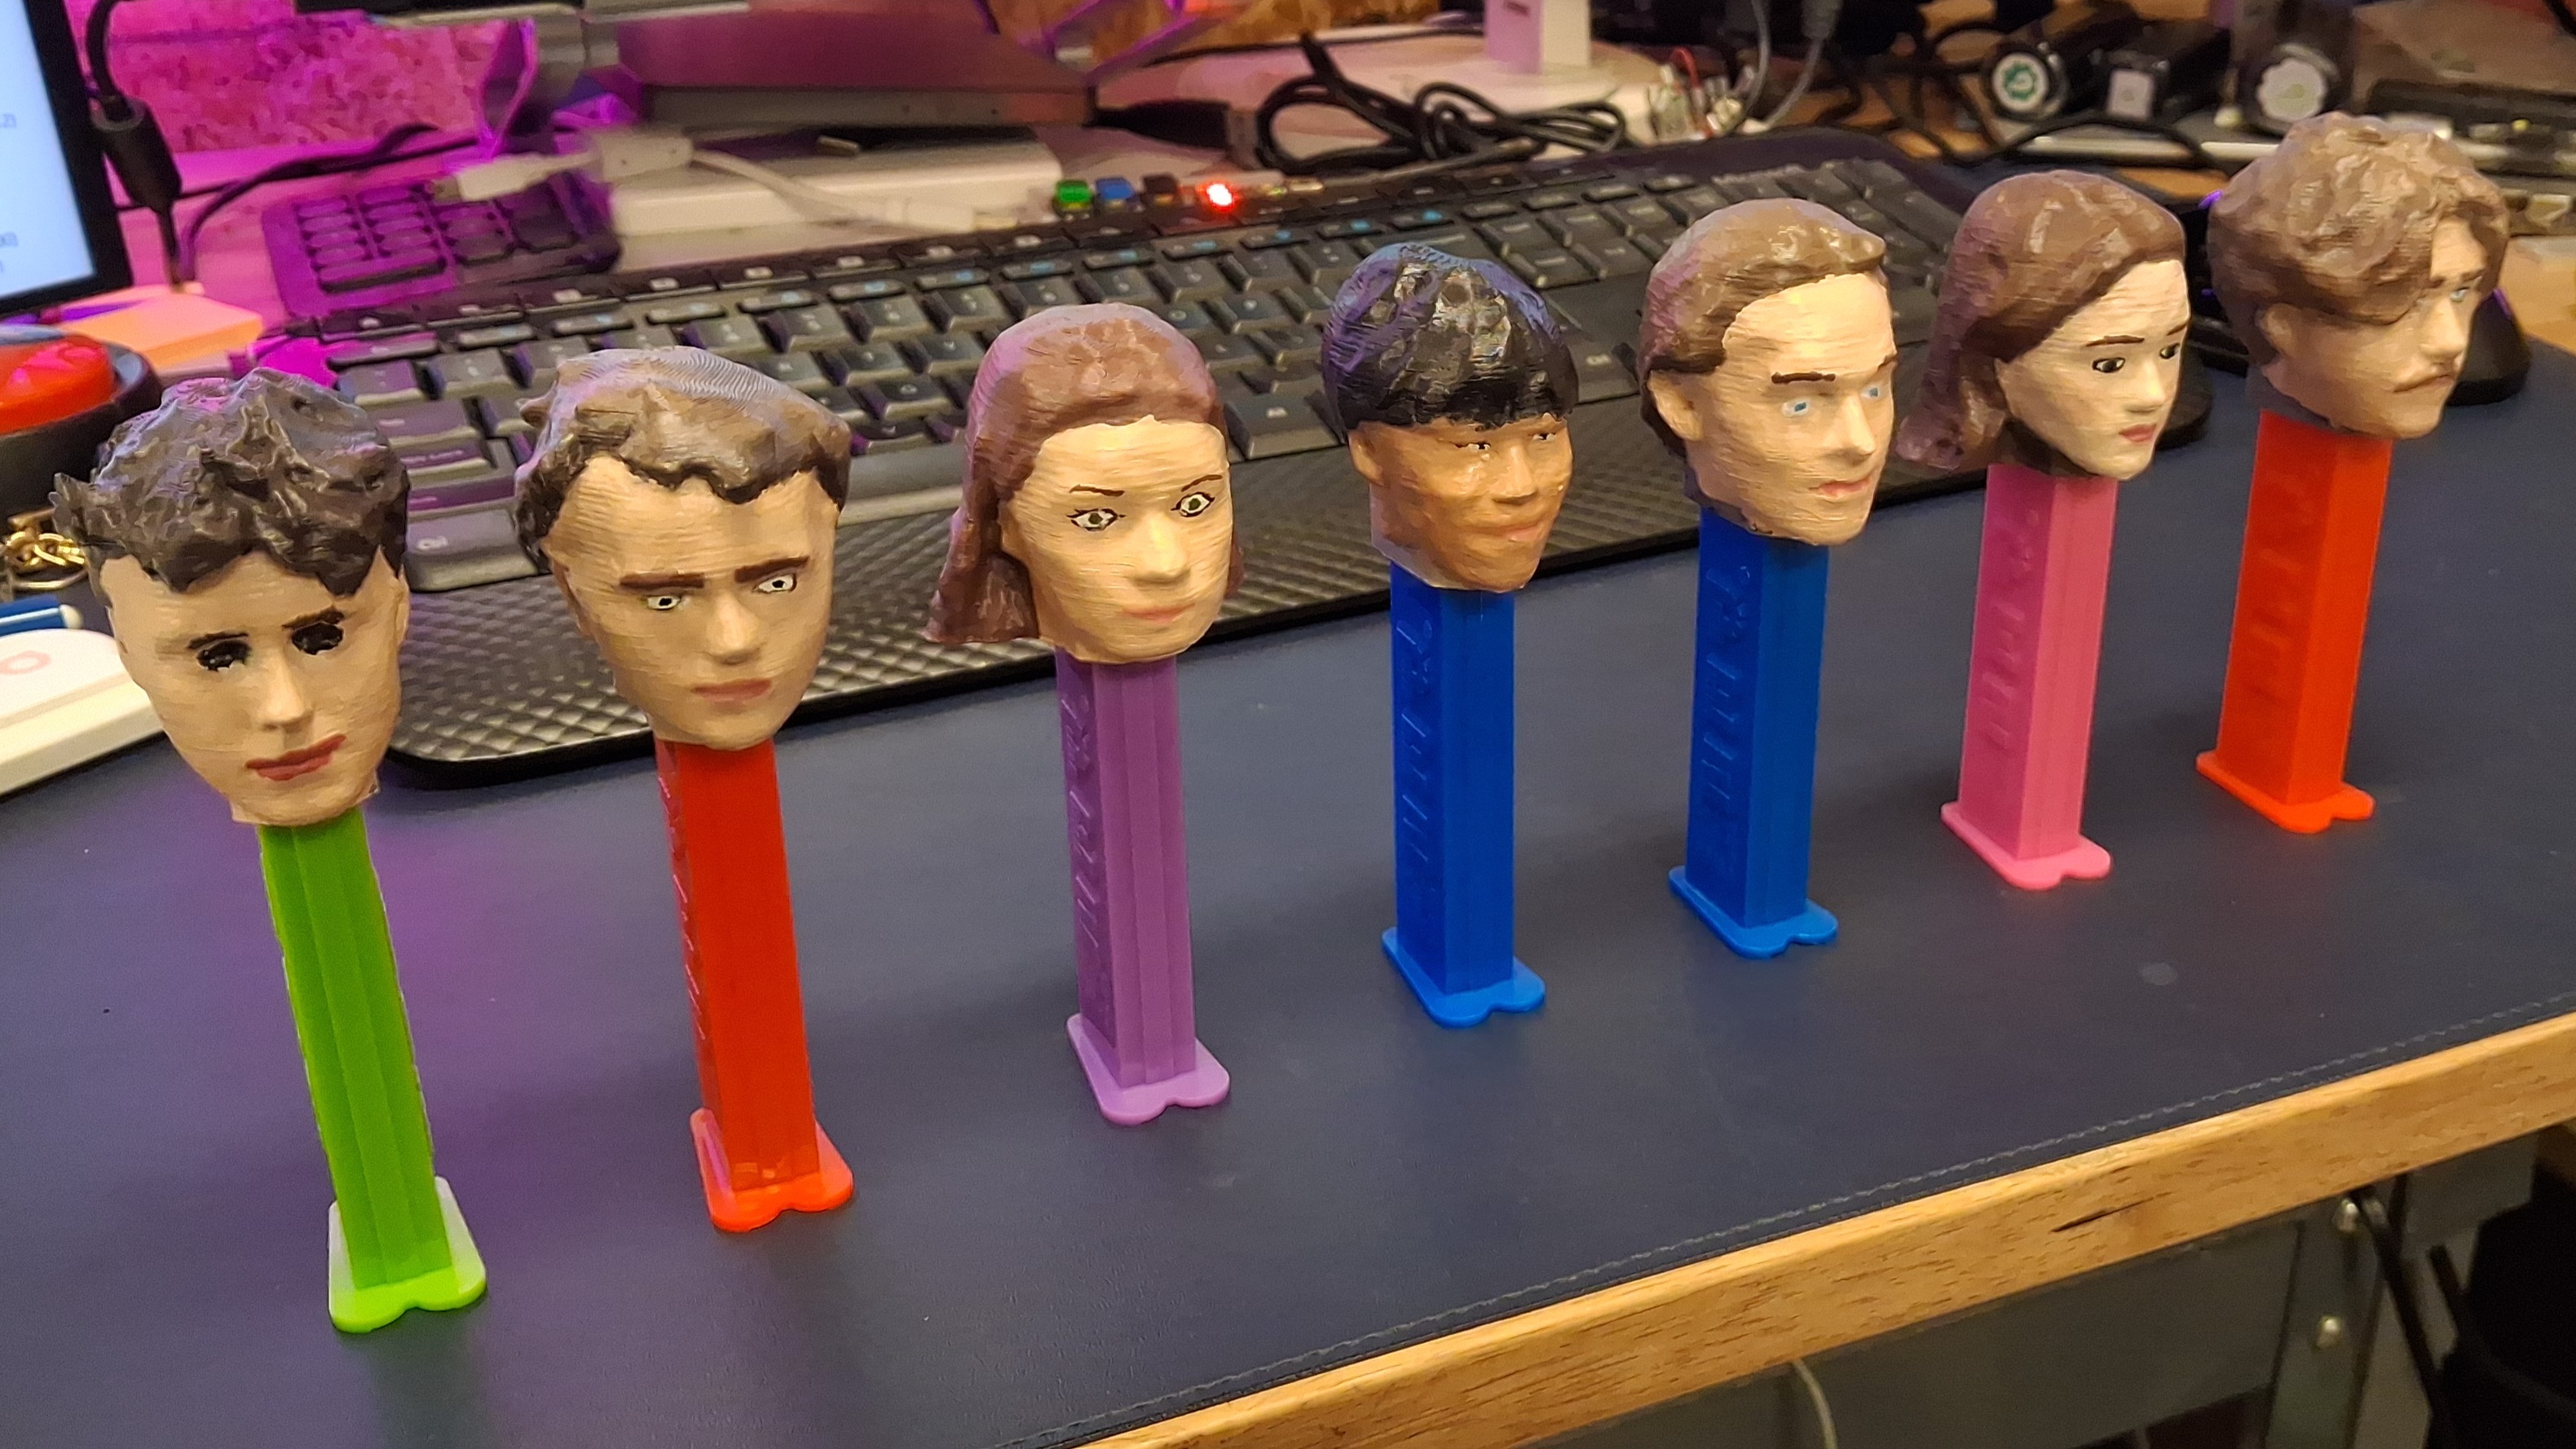
Porter and several classmates were participating in the Peer Leadership Fellows program, led by Dr. Prybutok, where they supported a sophomore chemical engineering course (ChemE 375) and learned about best practices in engineering education. The group of seven fellows decided they wanted to give Prybutok a gift at the end of the course as a thank you. Prbutok has collected PEZ dispensers for 25 years and has a collection of more than one thousand. Porter and his classmates figured they could mimic the shape of the PEZ dispensers with their heads, creating custom versions of the candy-serving toys.
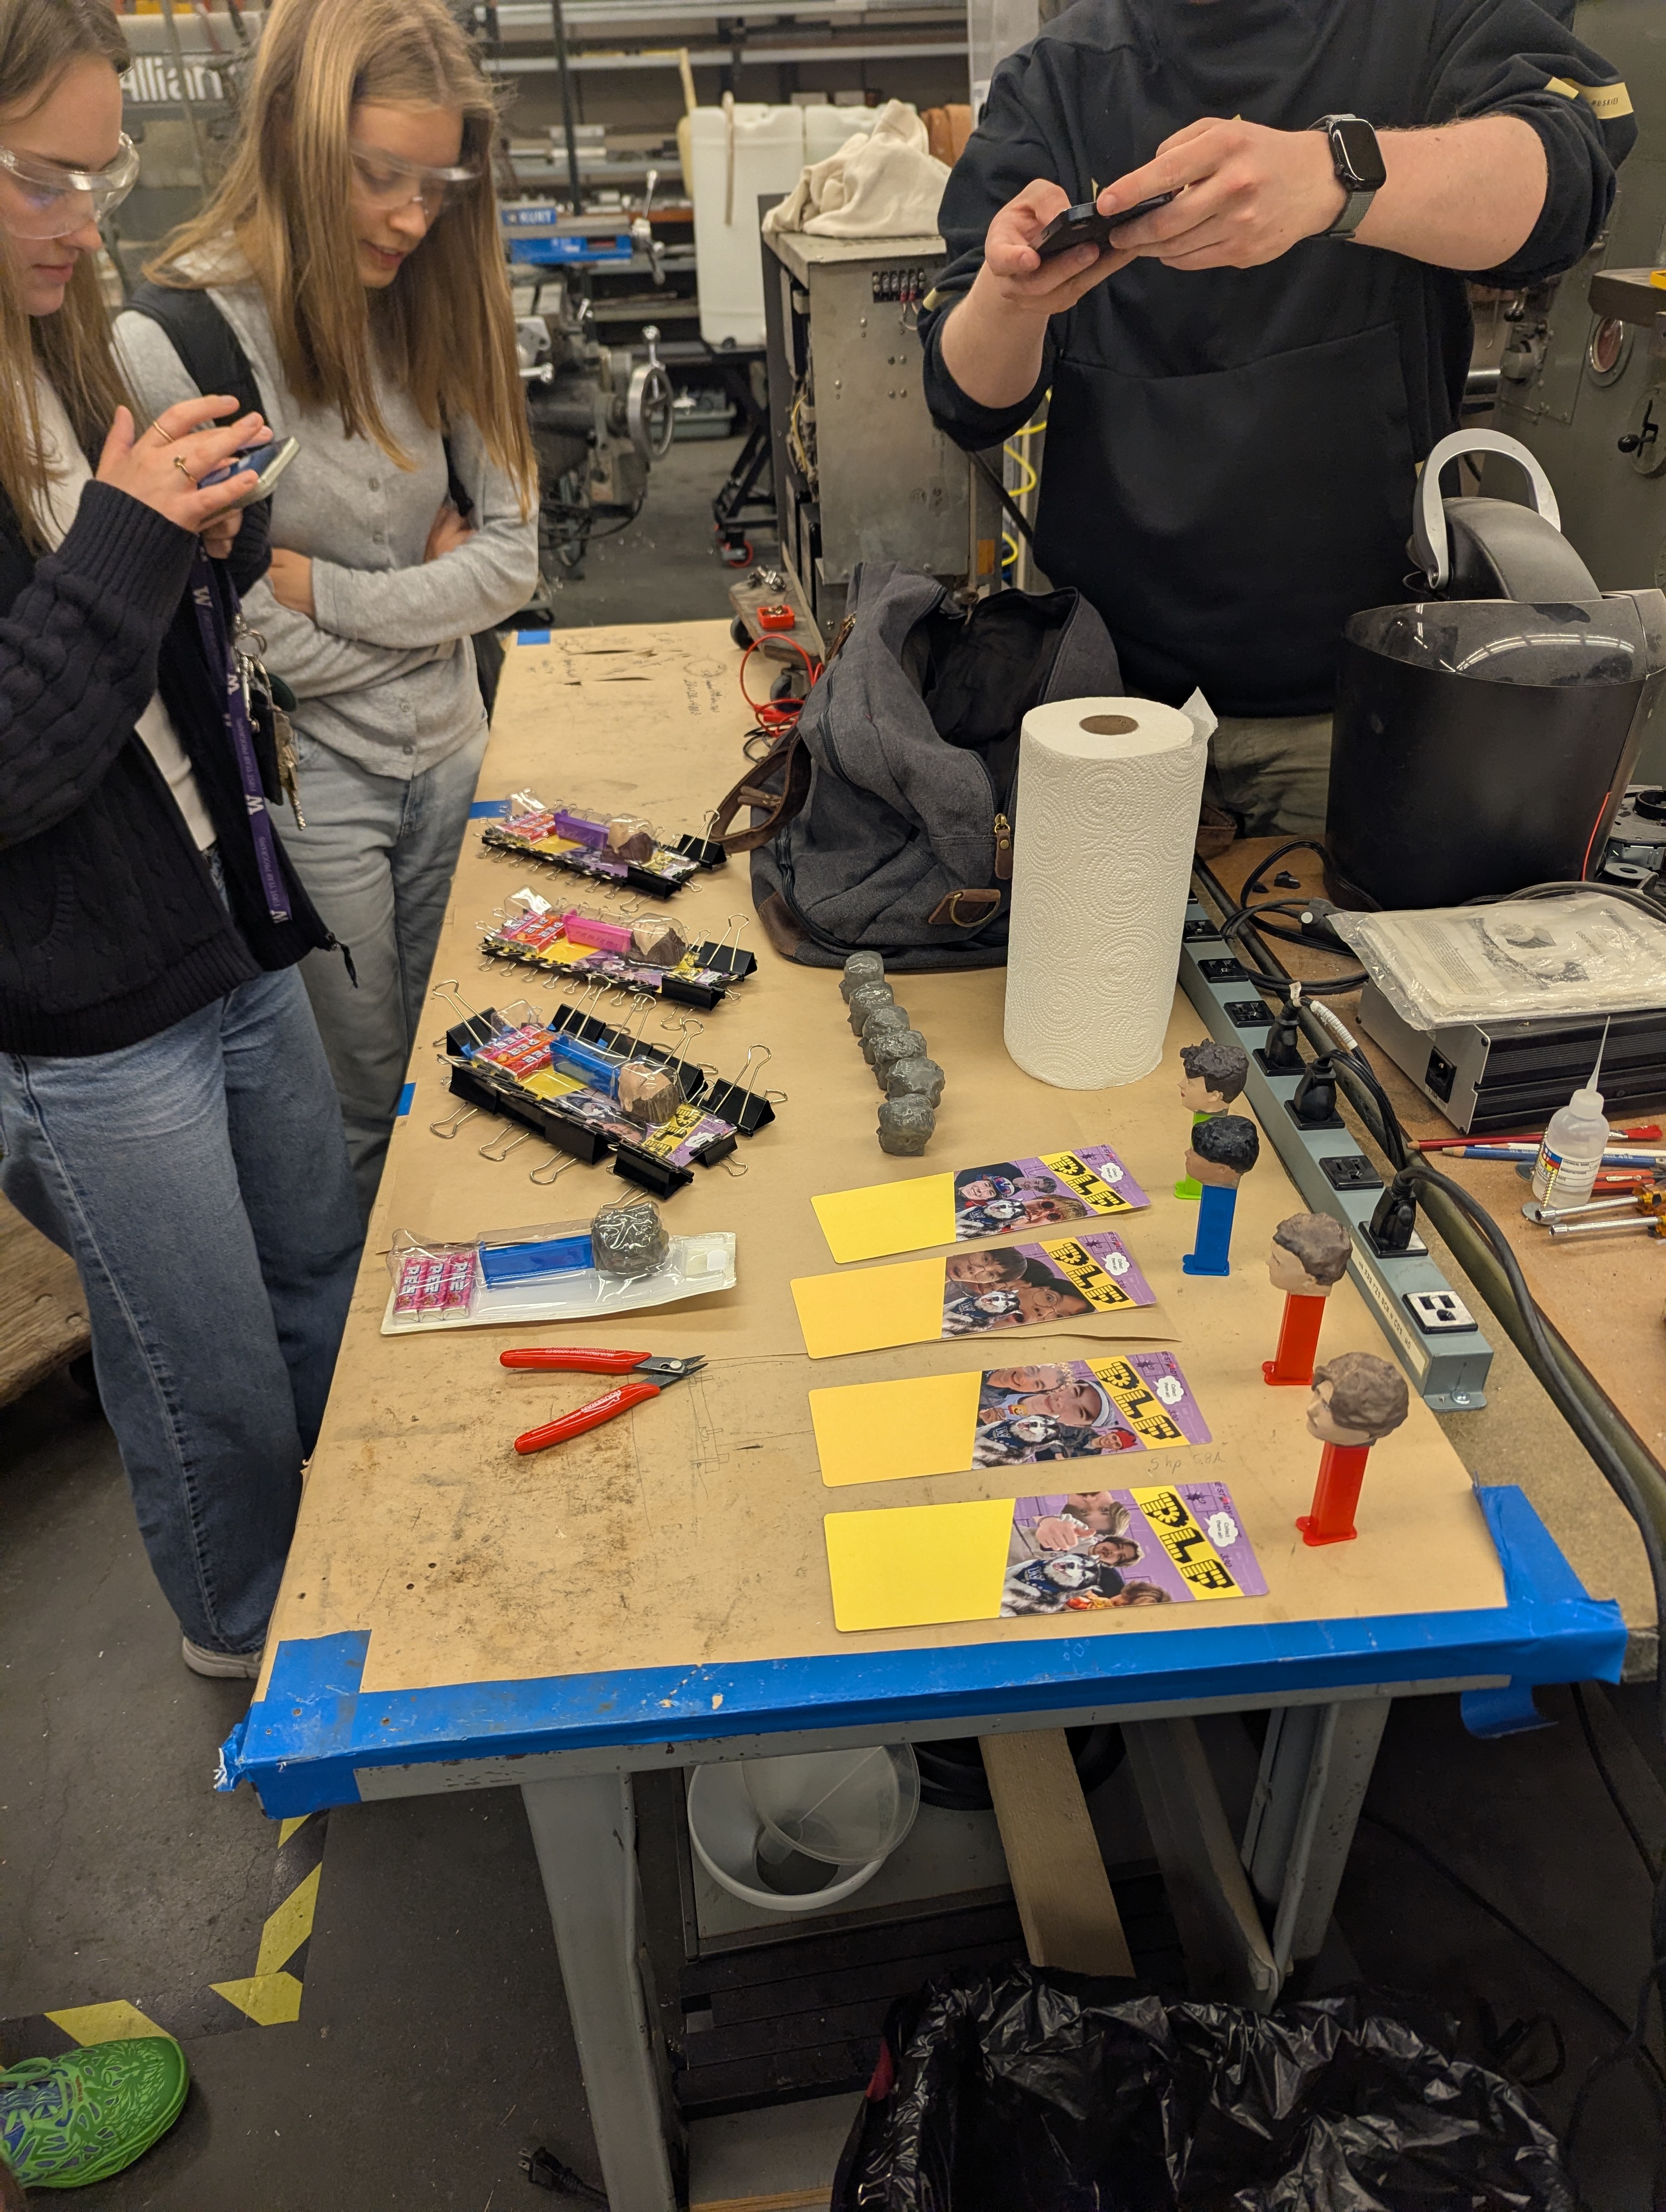
Porter approached Benjamin Hornburg, ChemE’s facilities manager, for support. “(Benjamin) has so much experience with the most random projects,” Porter explained. “If I have a spontaneous question about making something go from an idea to a physical object, he will always have insight.” Hornbug was onboard with the project and was “instrumental in getting everything together without looking too horrifying,” Porter says. The entire process, detailed in the “how to” guide below, took roughly two months.
In addition to drawing on his skills in 3-D printing, Porter says the teamwork and collaboration he learned in ChemE were paramount to the project. And despite the fact that most of the work was done in Benson Hall and many folks were involved, "the ChemE community was so good at keeping it a secret that Prybutok was still unaware of the dispensers when we gave them to her,” Porter says. “At one point she was standing just 10 feet from the dispensers in Benjamin’s office, and they still stayed a secret.”
Porter and classmates presented Prybutok with the dispensers on the last day of the ChemE 375 lab class. In her speech at graduation, Prybutok described them as an “absolutely insane, terrifying, unhinged and perfect gift.” The dispensers currently sit on Prybutok’s desk in Benson Hall and have brought her total PEZ dispenser count to 1,200.
How to build your own custom, functional PEZ dispensers
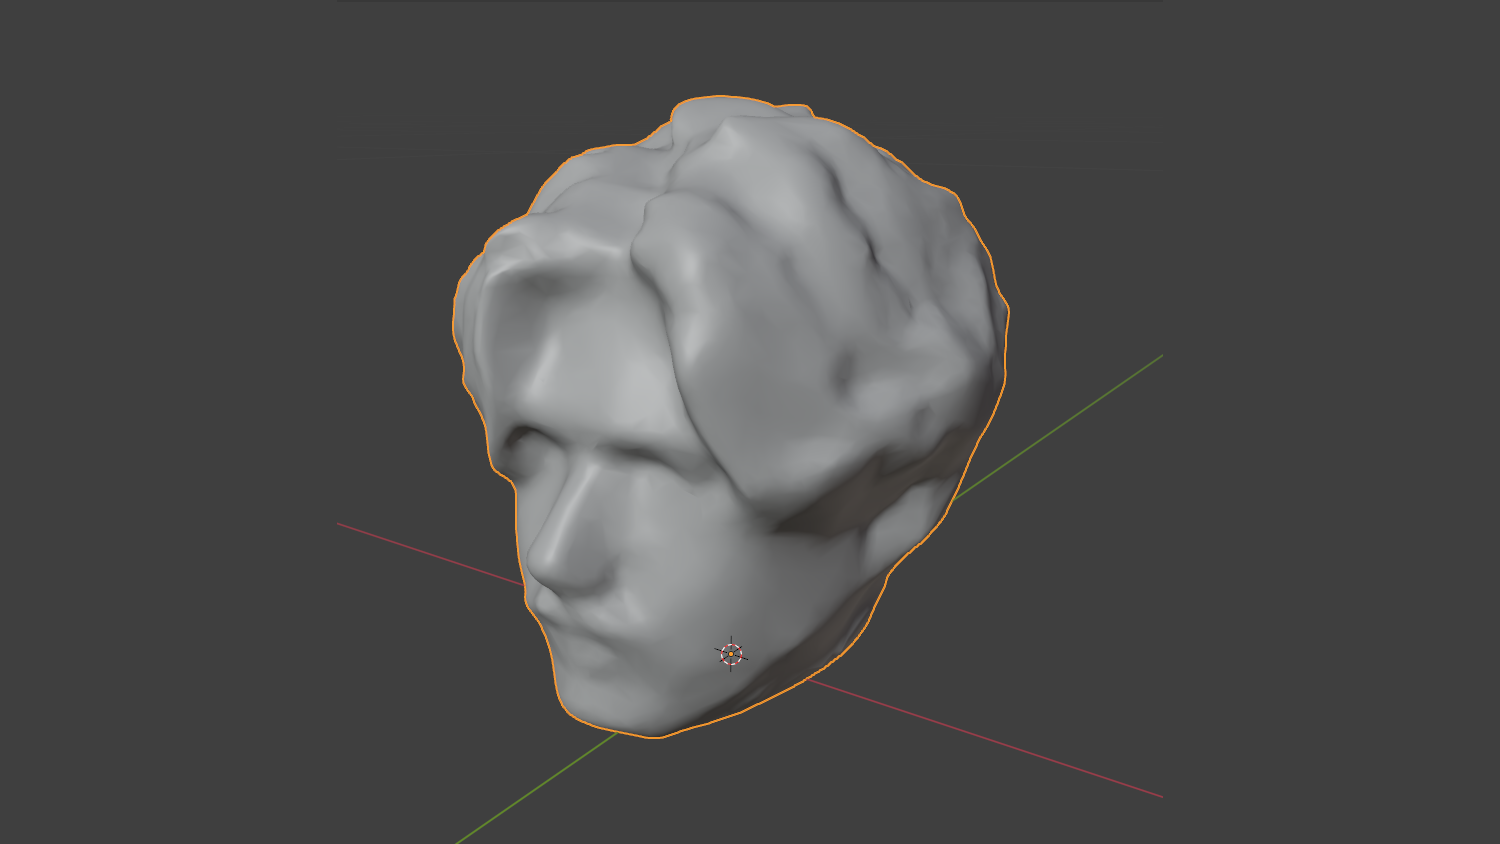
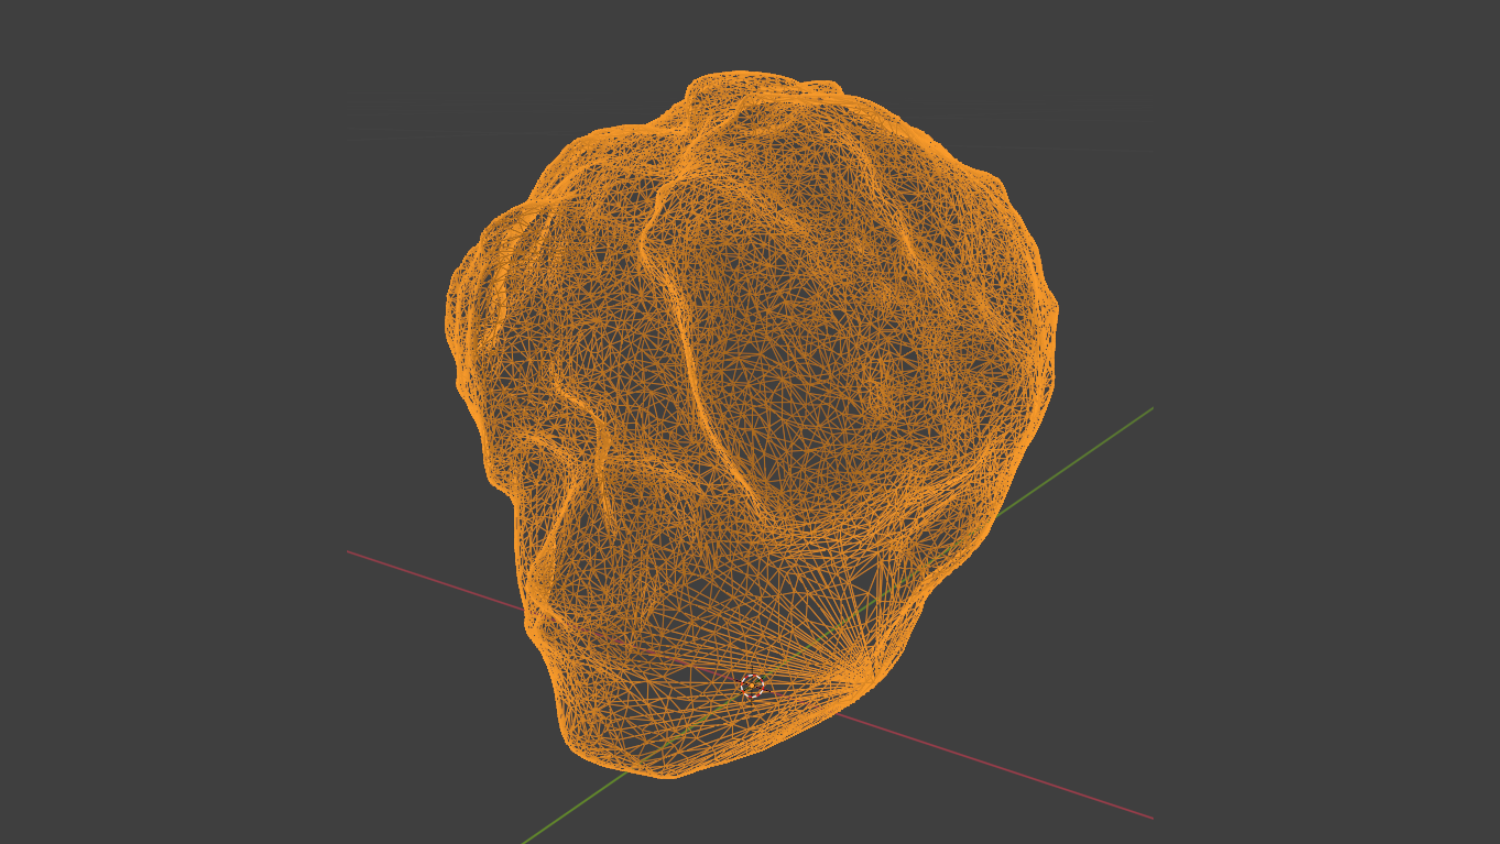
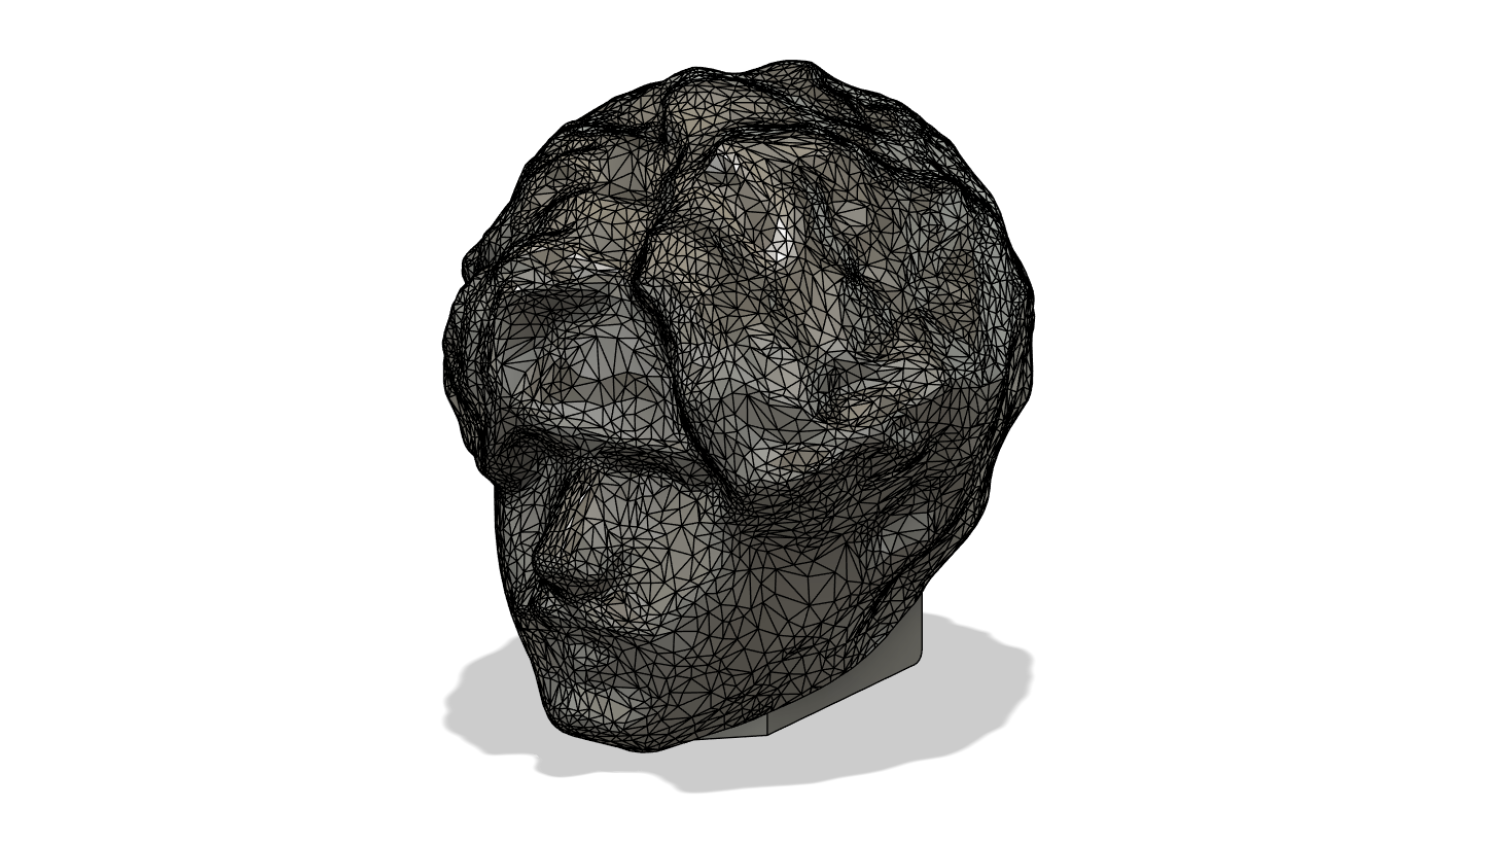
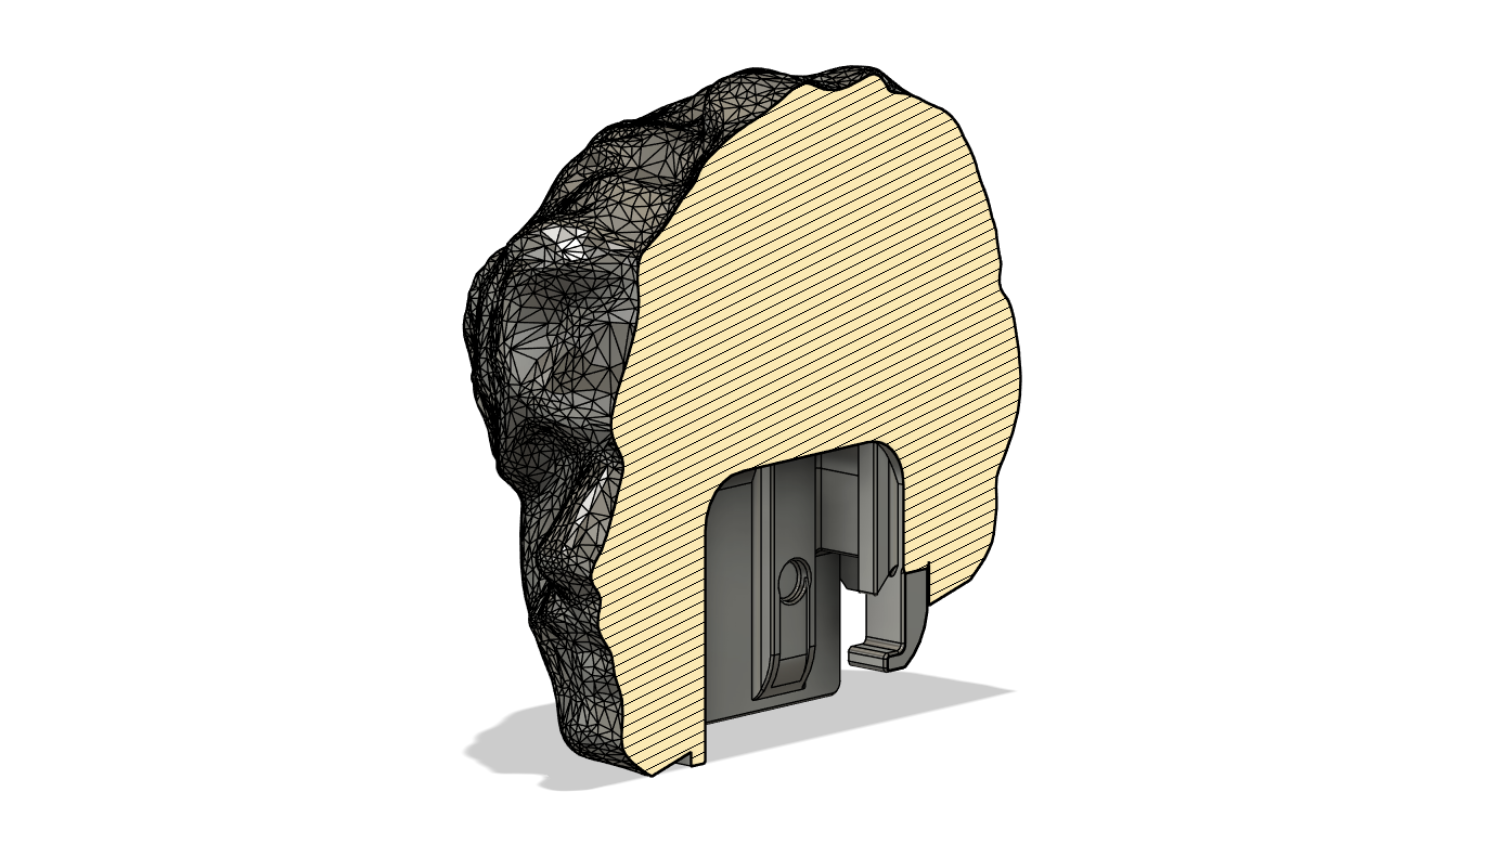
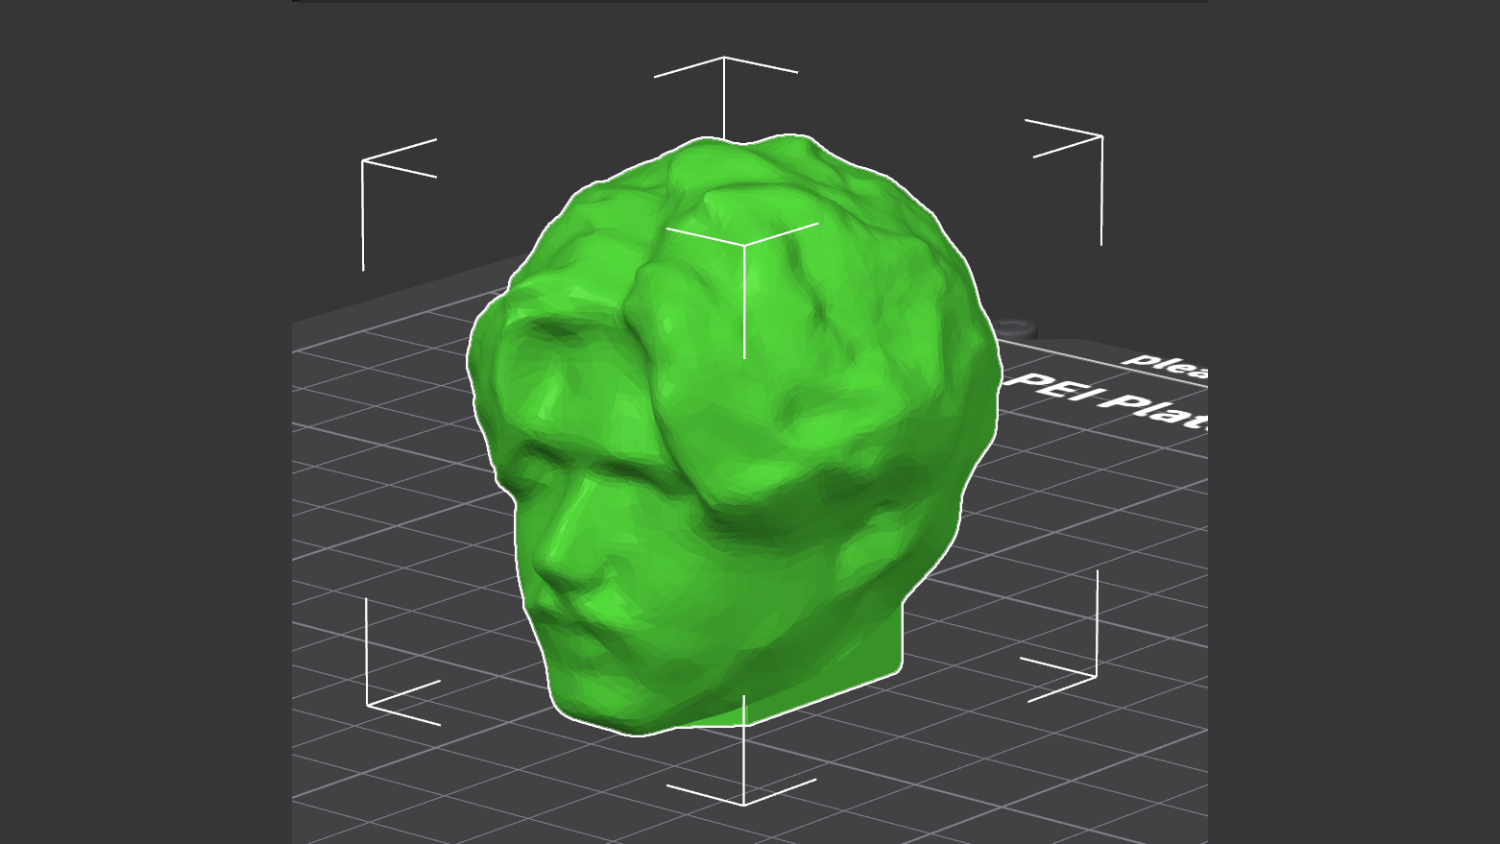
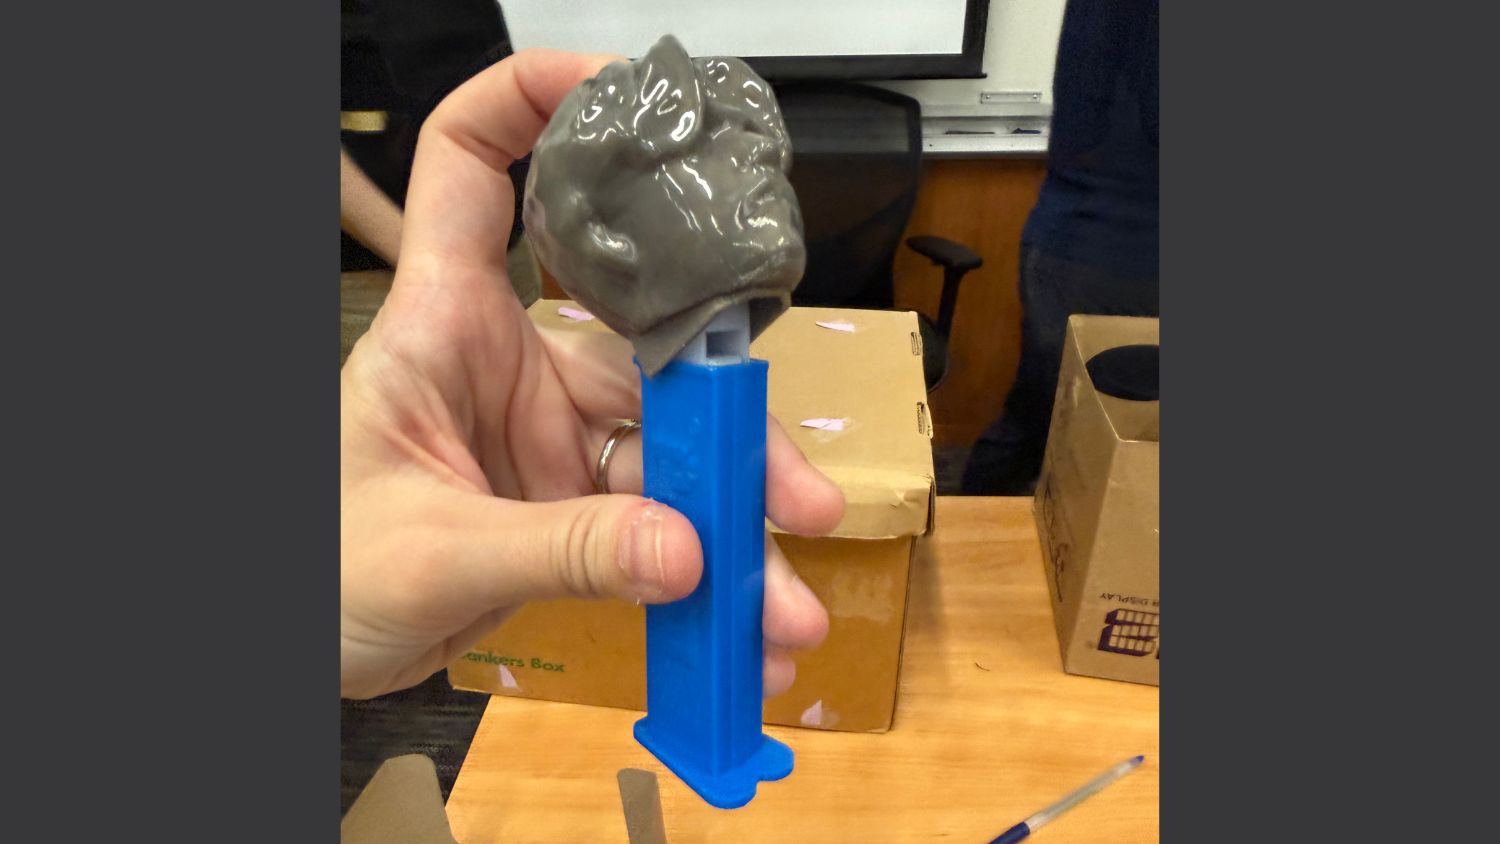
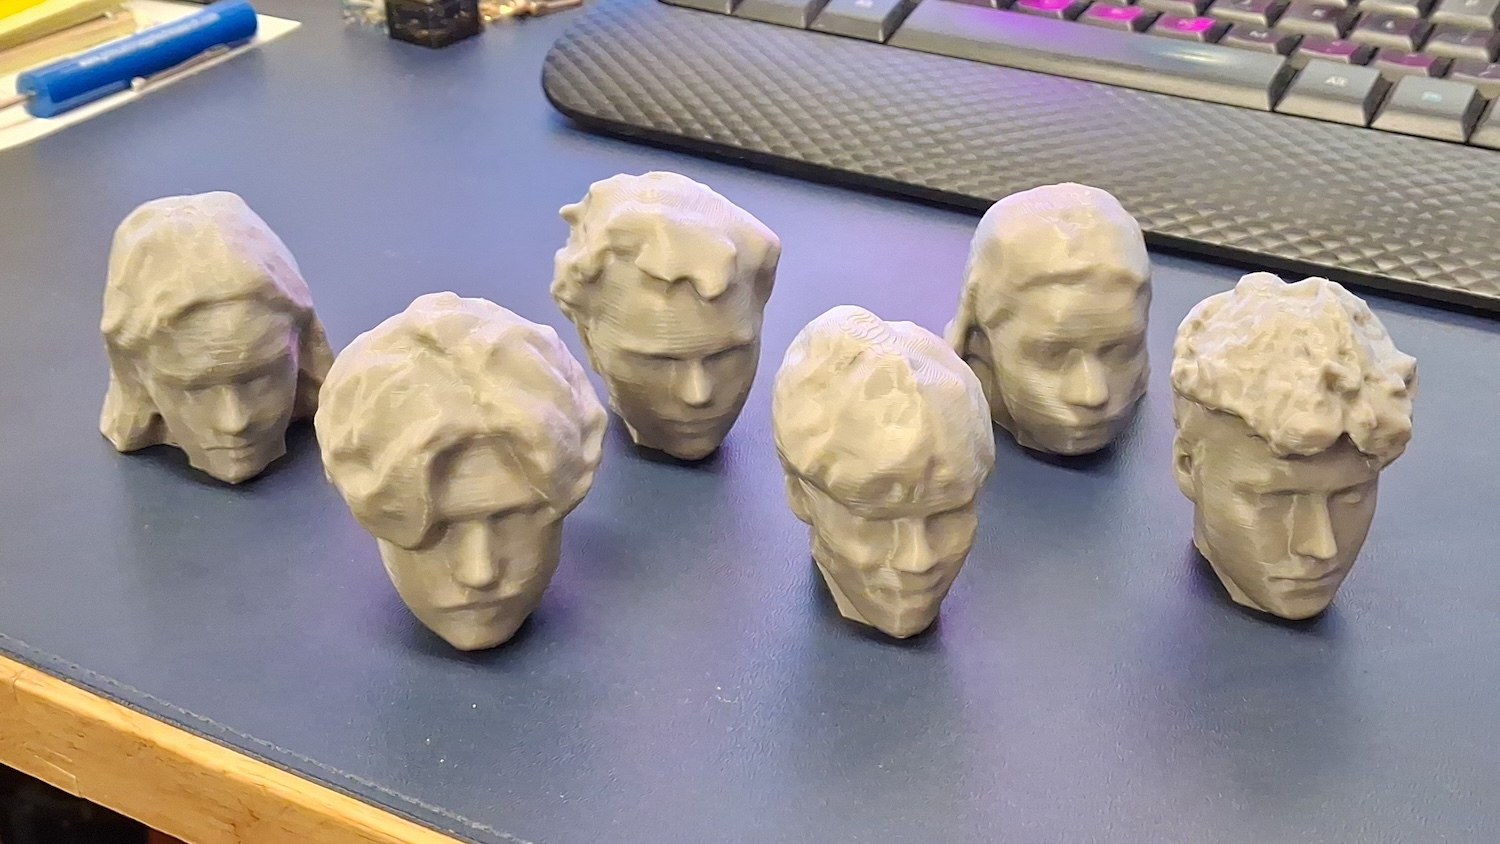
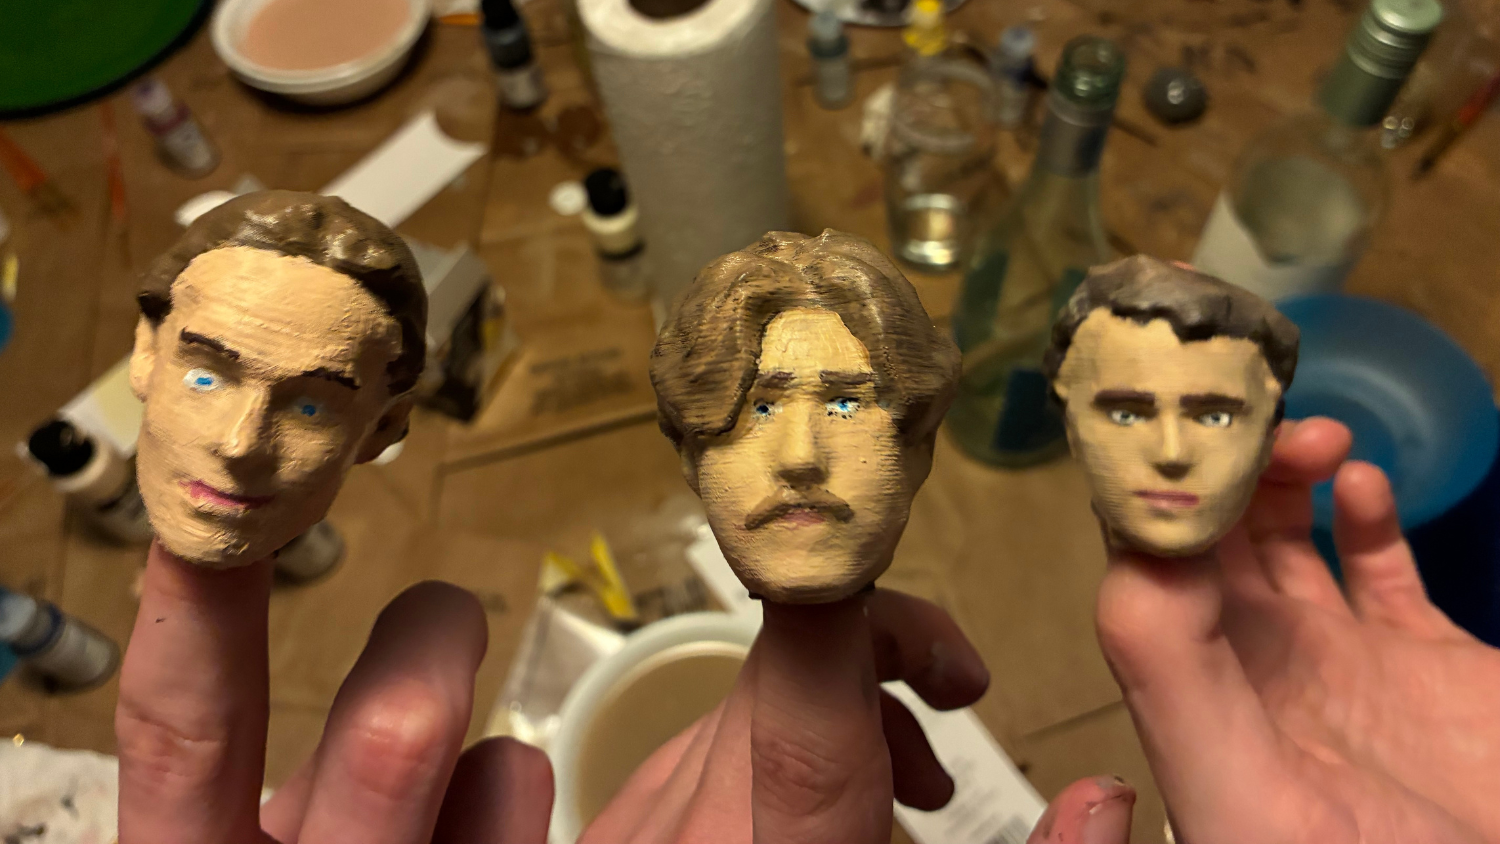
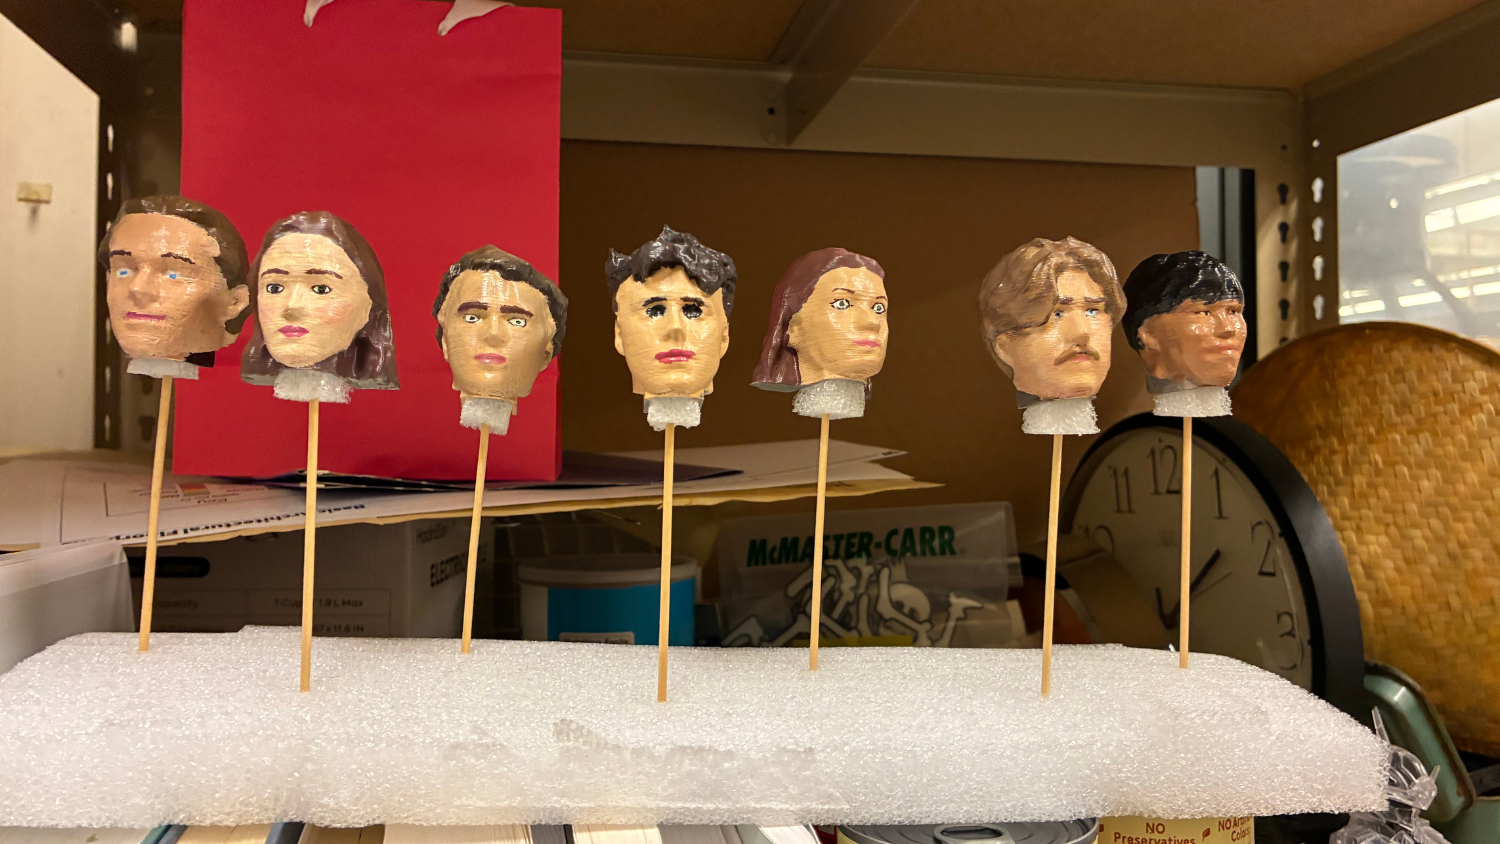
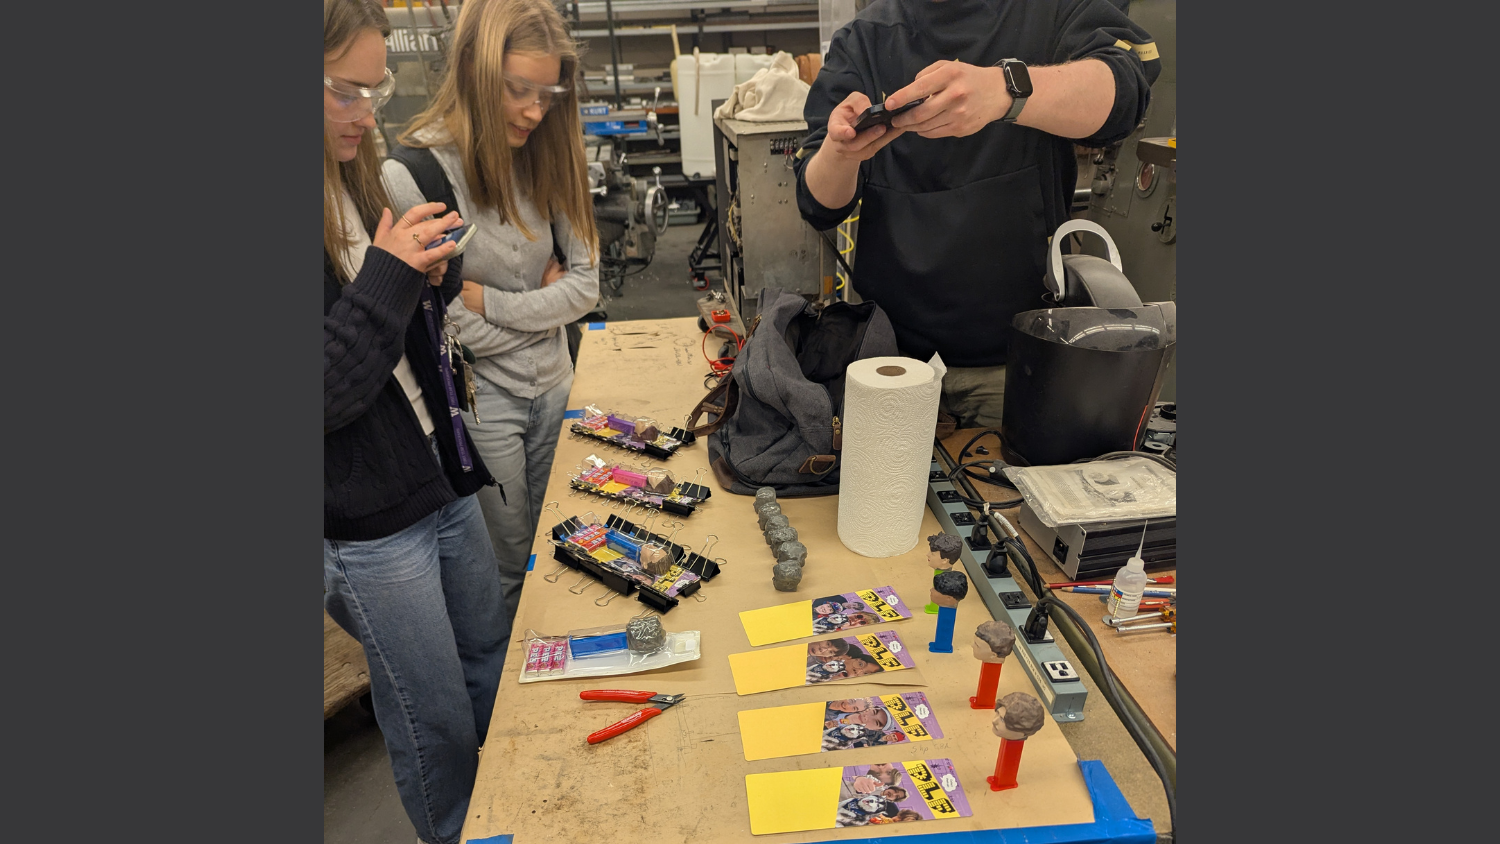
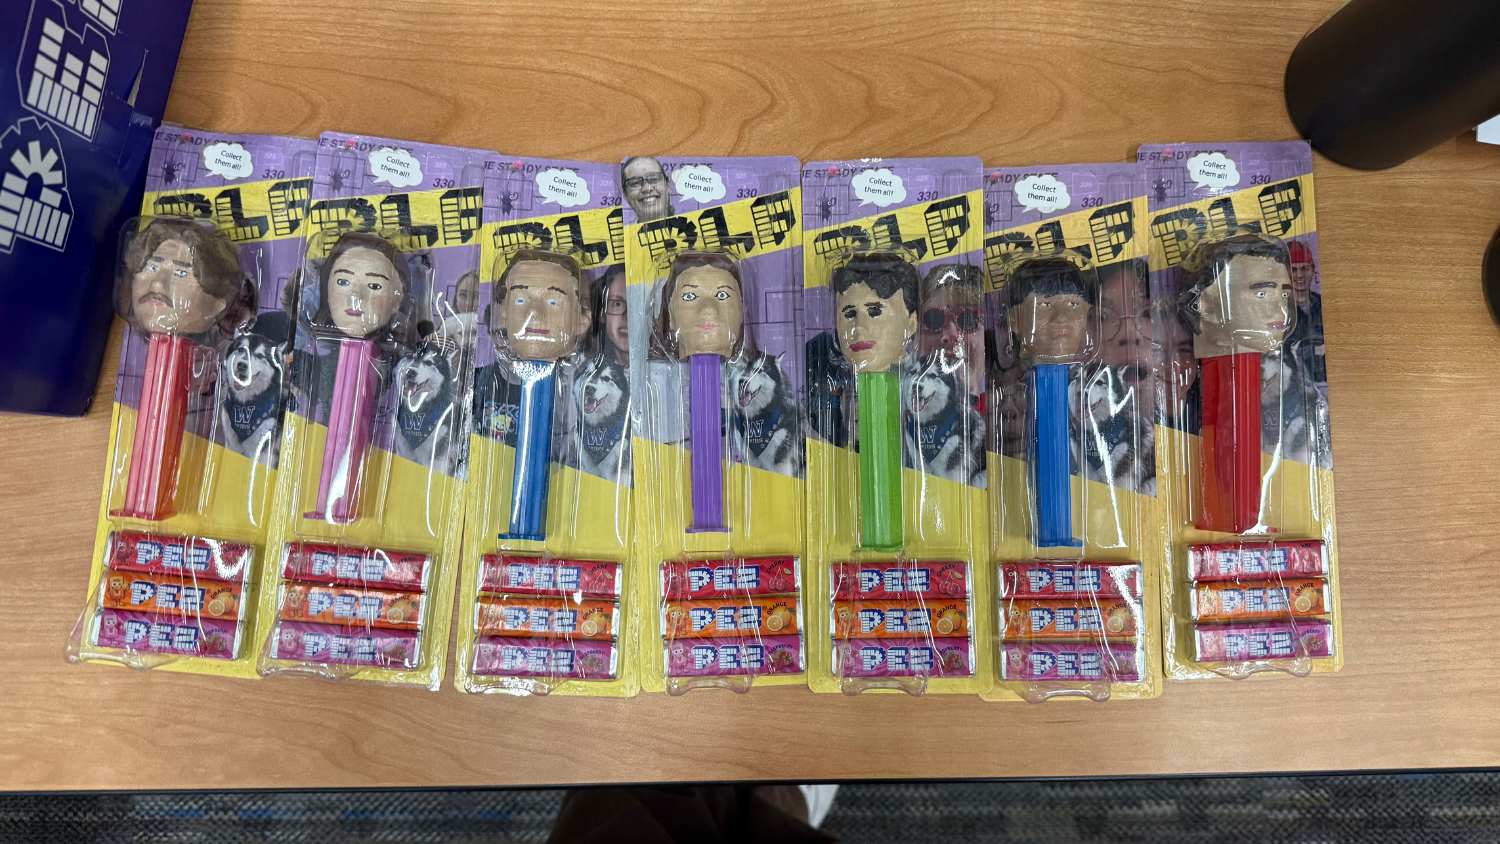
Swipe through the photos to see how ChemE students and staff created custom PEZ dispensers in their own likeness.
- Purchase standard PEZ dispensers from a local grocery store or online. Remove the original PEZ topper from the functional dispenser.
- Let’s assume you want to make a custom PEZ dispenser of your head. First, you’ll need a three-dimensional scan of your head. To get this, scan your head using the PolyCam app on an iPad. This will create a .stl file, which is the standard format for storing and sharing 3-D files.
- Next, work in Blender (a 3D sculpting tool). In Blender, you can make the model “manifold,” meaning it won’t have any holes in its surface or layers hidden inside it. You may also need to refine your head shape or remove hair spikes or shadows resulting from the scanning process. Export as an .stl file.
- Import your file into a solid modeling software, like Fusion360. This is where you’ll add a notch in the design of your head so it can be attached to the top of the dispenser. To do this, convert the mesh to a solid body, set the scale and position your head model to overlap with a model of a PEZ head. (We used a model courtesy of tbuser on Thingiverse.com, an online platform for sharing digital design files). Subtract the negative space from your head model and then add the PEZ infrastructure with boolean. Now, you’re ready to export the PEZ head model as an .stl file.
- This is the most exciting part – printing! Import the modified .stl file into a slicing software, like OrcaSlicer. A slicer is a post-processing software tool that converts mesh objects into instructions for motion paths that a computer numeric control machine can understand. Position the model in the build volume, set the parameters for the material you wish to print in, slice, and export the sliced model as a .gcode file. Prep your printer, load the .gcode file, and print!
- Paint your custom head with acrylics. Don't forget to finish with a clear top coat, to seal in your acrylic paint. Once dry, attach your custom head to the base.
- For extra credit, make custom packaging with your own picture and put the dispensers back into the plastic sleeves they arrived in.
Originally published July 29, 2026